

How To Change Gasket On The Left Side Of The Crankcase On A 650 V Star 2009 Model
To set up for an oil change on my neighbor'due south 2004 Yamaha V-Star 650 cruiser, I gathered up my tools, laid down some cardboard to catch spills and drips, prepped my recycling containers, and readied the fresh oil and filter. She rode the cycle plenty to warm it upwardly, then rode it over to my identify, so the oil would exist nice and warm, and flow out easily when drained.
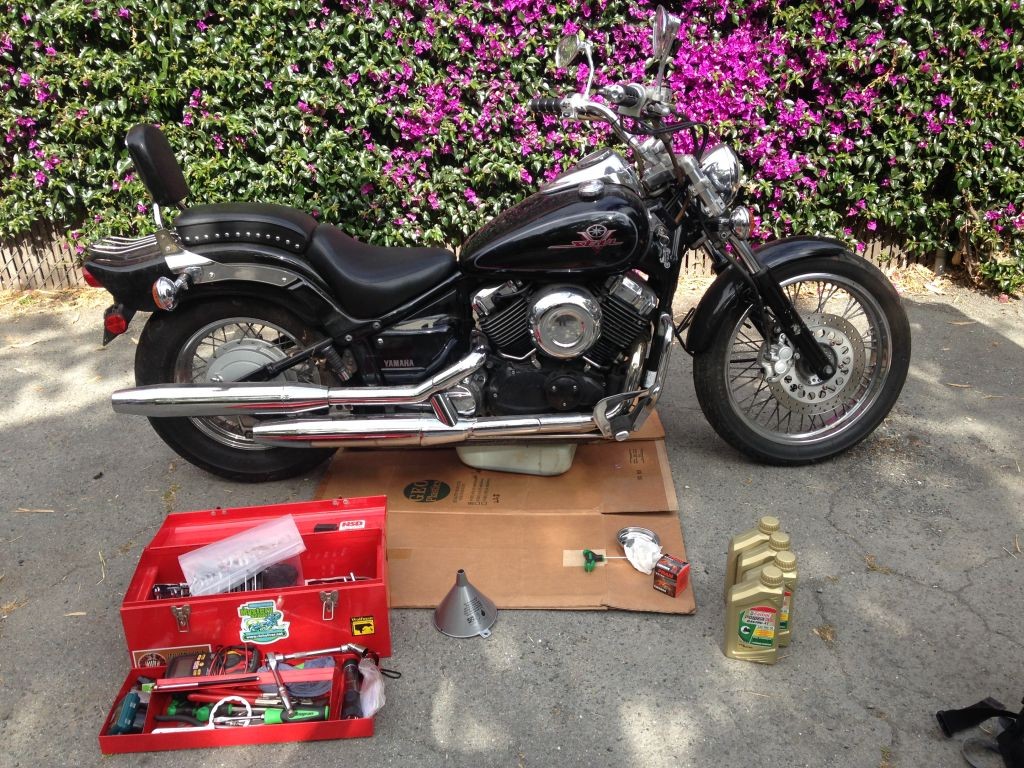
The Five-Star, ready for her oil change, tools and supplies at hand
getting ready
Supplies needed:
* iii-iv quarts of 20w50 viscosity motor oil (my neighbour chose Castrol motorcycle-specific synthetic oil). If you choose regular car oil rather than motorcycle oil, the circular label on the dorsum should NOT read "energy conserving". If it does, your clutch may slip from the actress-slippery additives in the oil, intended for use in cars and trucks.
* Fresh crush washer
* Fresh Filter
* Rags/paper towels for cleanup
* ziploc pocketbook to recycle filter afterward draining
* Latex or nitrile gloves to protect your hands from toxic oil
Tools Needed:
* Socket wrench and/or 17mm metric wrench
* Size 4 and v allen wrenches
* funnel
* oil pan
* container for recycling oil
(Find out how to get gratuitous oil and filter drainer gear and recycle your oil and filters in San Mateo County, San Francisco, Alameda County, Sonoma County, Napa County, Marin County and Sacramento.)
Yamaha has been making the V-Star 650 motorcycle, with only cosmetic changes, from 1998 to the present. The oil and filter change procedure for all these bikes is essentially similar for all of 'em.
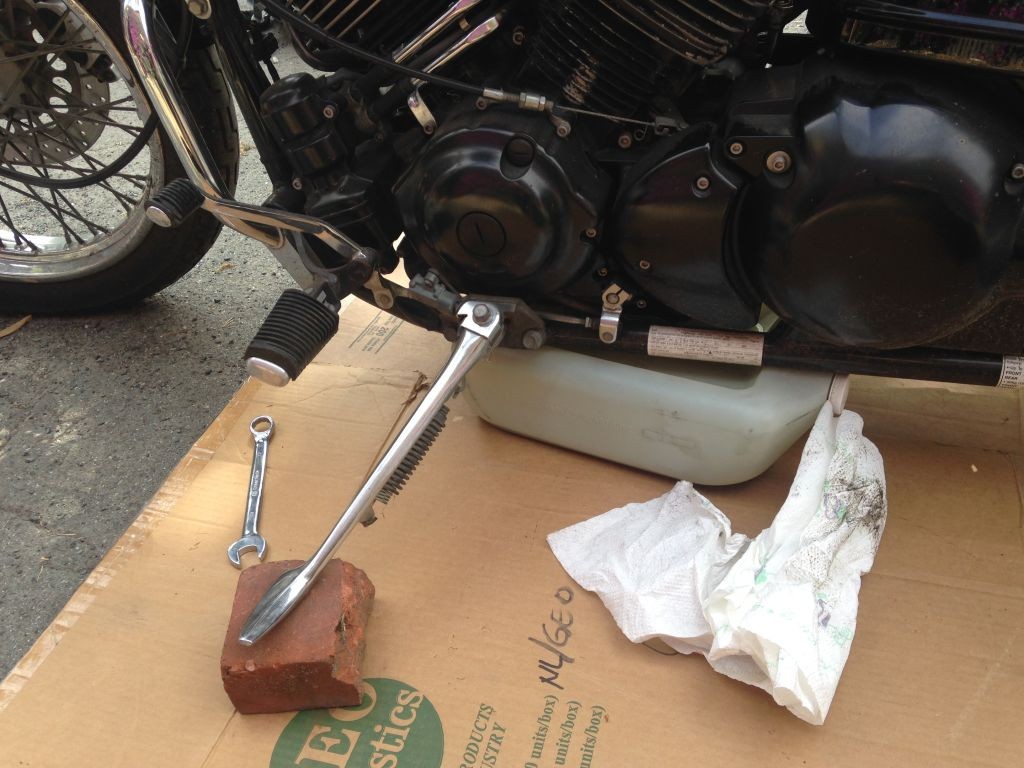
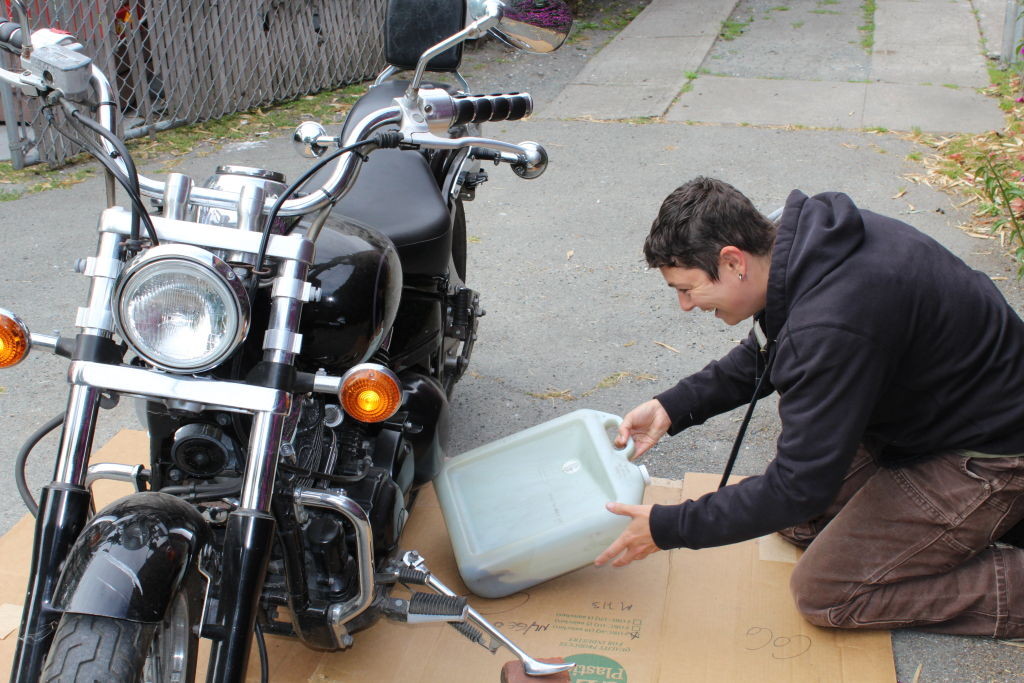
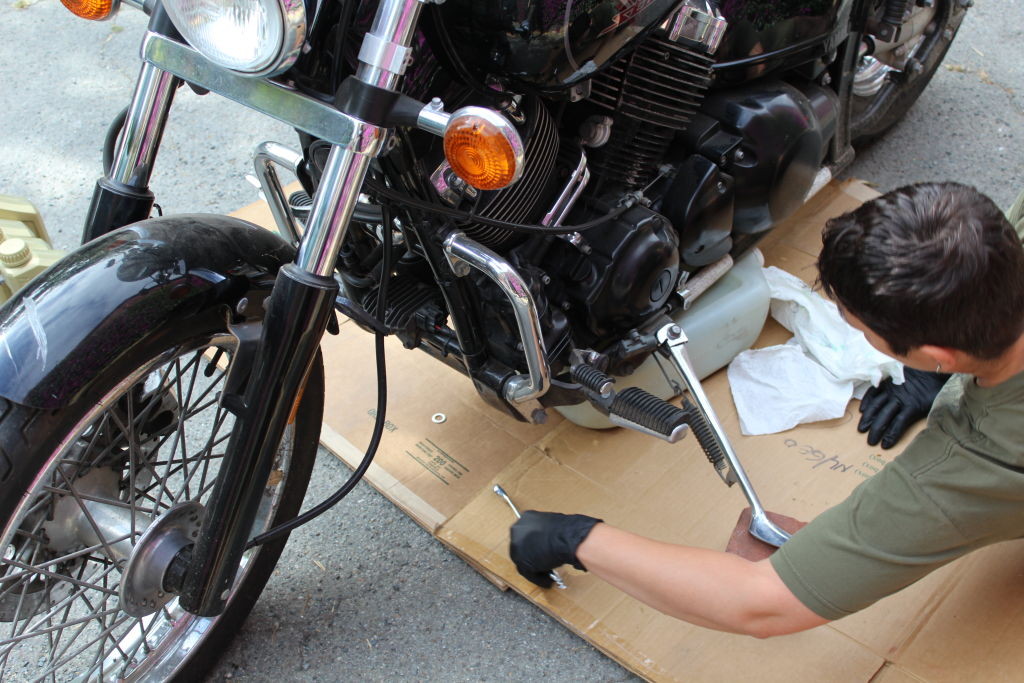
To get the oil pan under this low-slung cruiser, we propped the kickstand upward on a brick, giving a little extra room to push the pan beneath the engine.
After pushing the pan beneath the bicycle, I got downward on the ground on the left side to locate the oil drain bolt. The oil drain bolt is on the rider's left side of the bicycle, tucked beneath the frame rail, on the lower left side of the oil pan. I wiggled my 17mm socket onto the bolt and wrenched it loose.
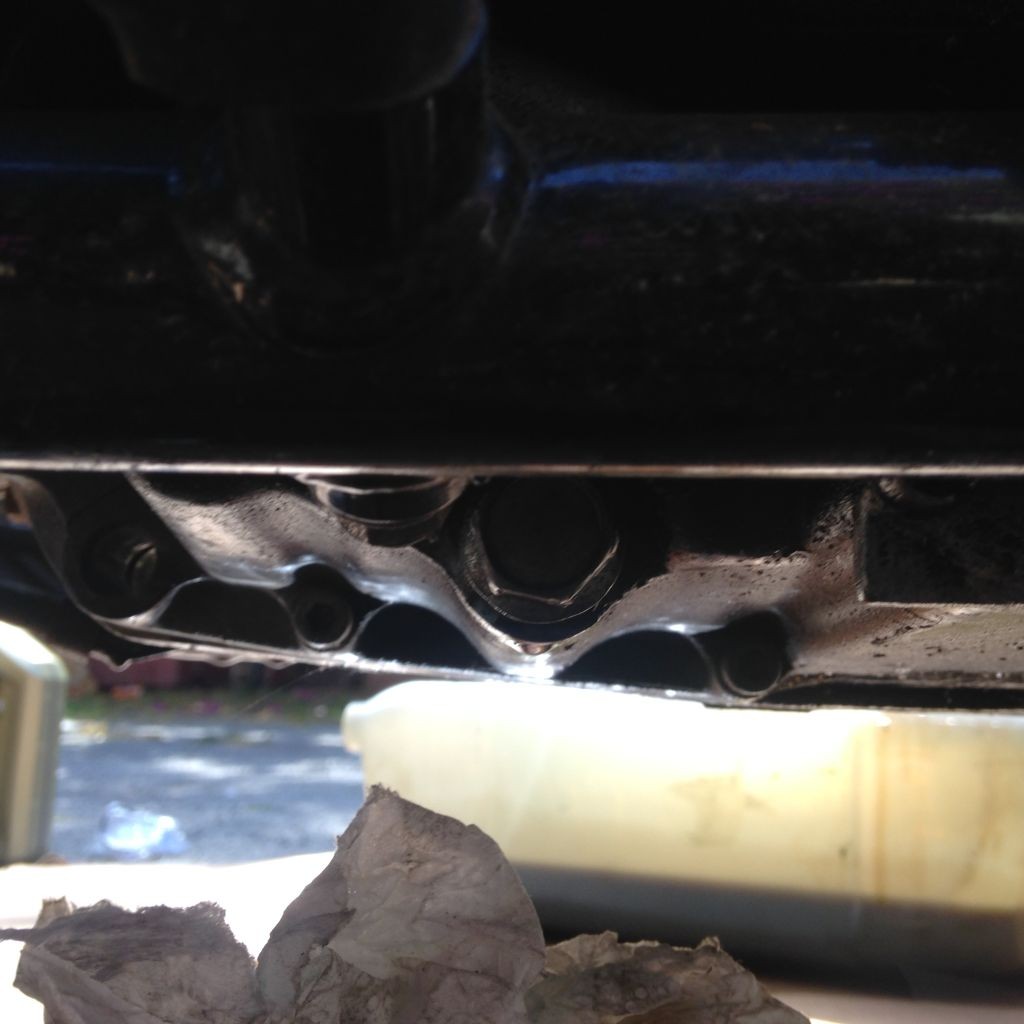
Oil drain bolt on left of oil pan
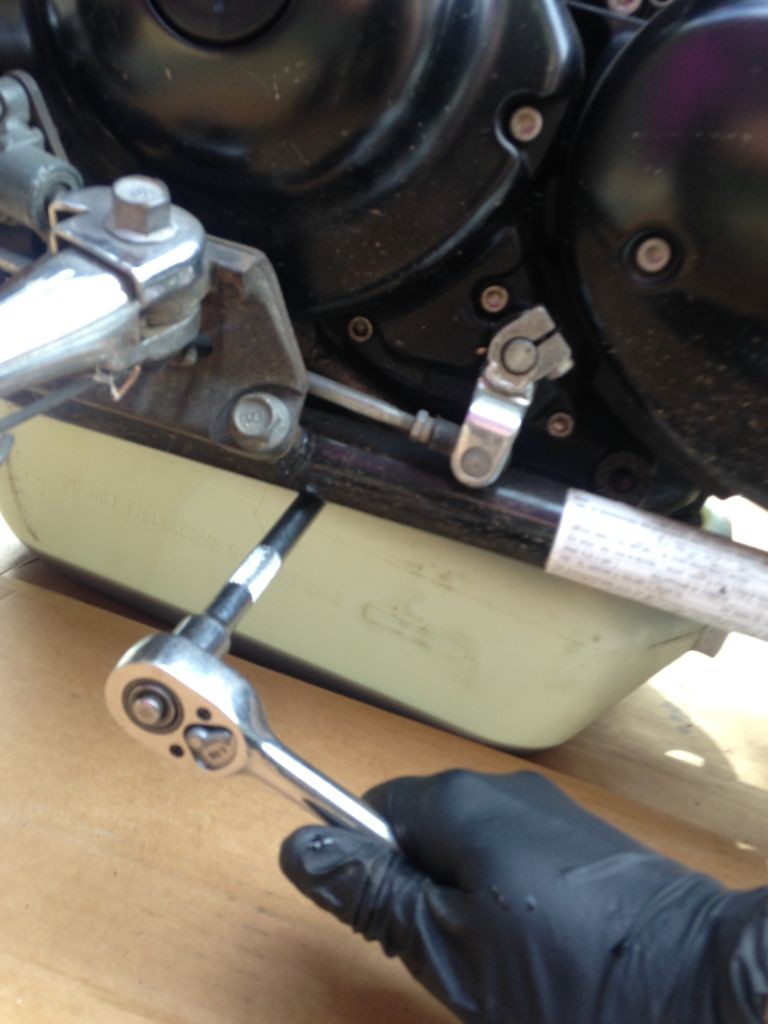
The oil drain commodities is reached on the left side of the bike, beneath the frame rail, on the left side of the oil pan.
The oil poured out, a pocket-size corporeality of it missing the pan and making a fleck of a mess–on the paper-thin, fortunately. Oil-contaminated runoff is toxic, so meliorate on cardboard than on your driveway.

Oil draining–most of information technology into the oil pan!
I added a new crush washer to the oil drain bolt and set it aside.
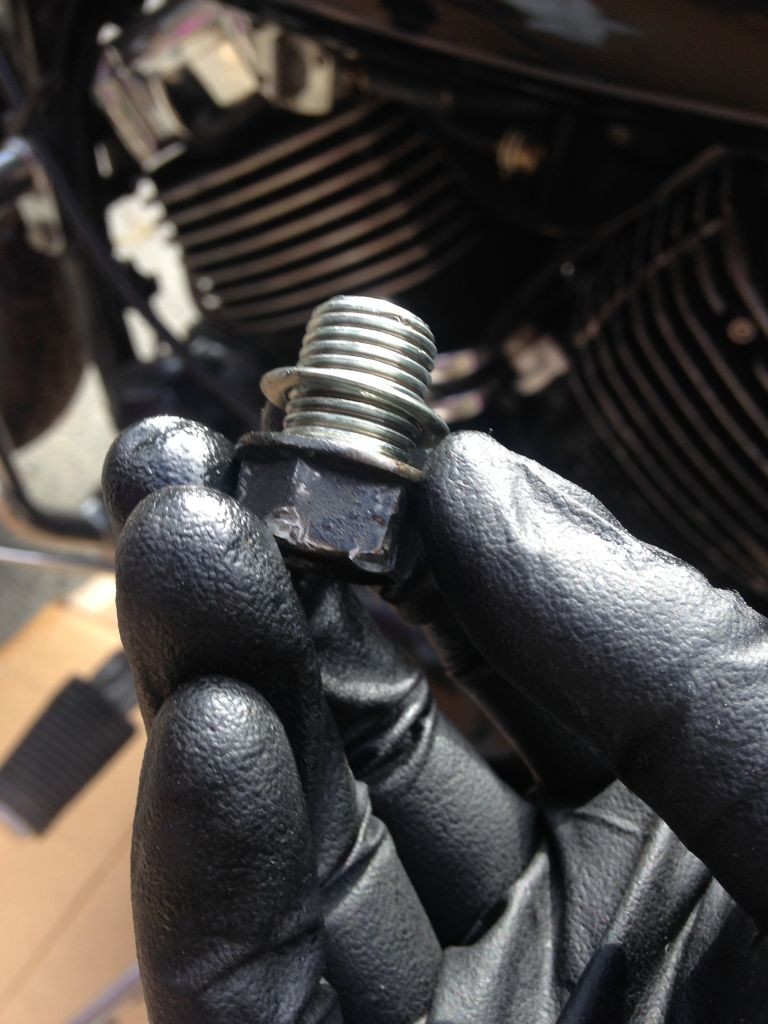
oil drain bolt, with new shell washer
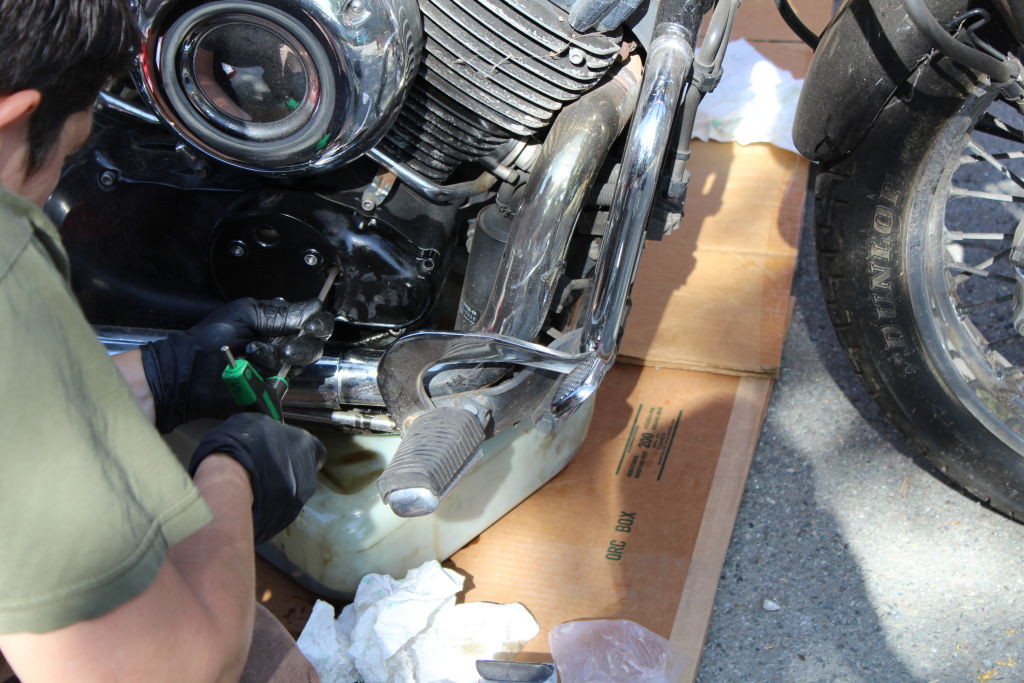
While the engine oil connected to bleed, I moved to the filter. The Five-Star 650 has a 2-part decorative encompass over the oil filter housing, and both pieces need to exist removed separately to admission the filter. Using my allen wrench, I pulled the iii bolts from the outer cover and removed it. Allen (likewise known as hex head) bolts can strip out and cause more than trouble than anyone needs, then I used high-quality allen wrenches or socket bits, and used a careful hand to make sure the bolts came out smoothly.
Removing the outer cover of the oil filter housing
Outer oil filter cover, removed
I carefully kept the three allen bolts with the outer comprehend, then began to undo the allen bolts of the inner cover.
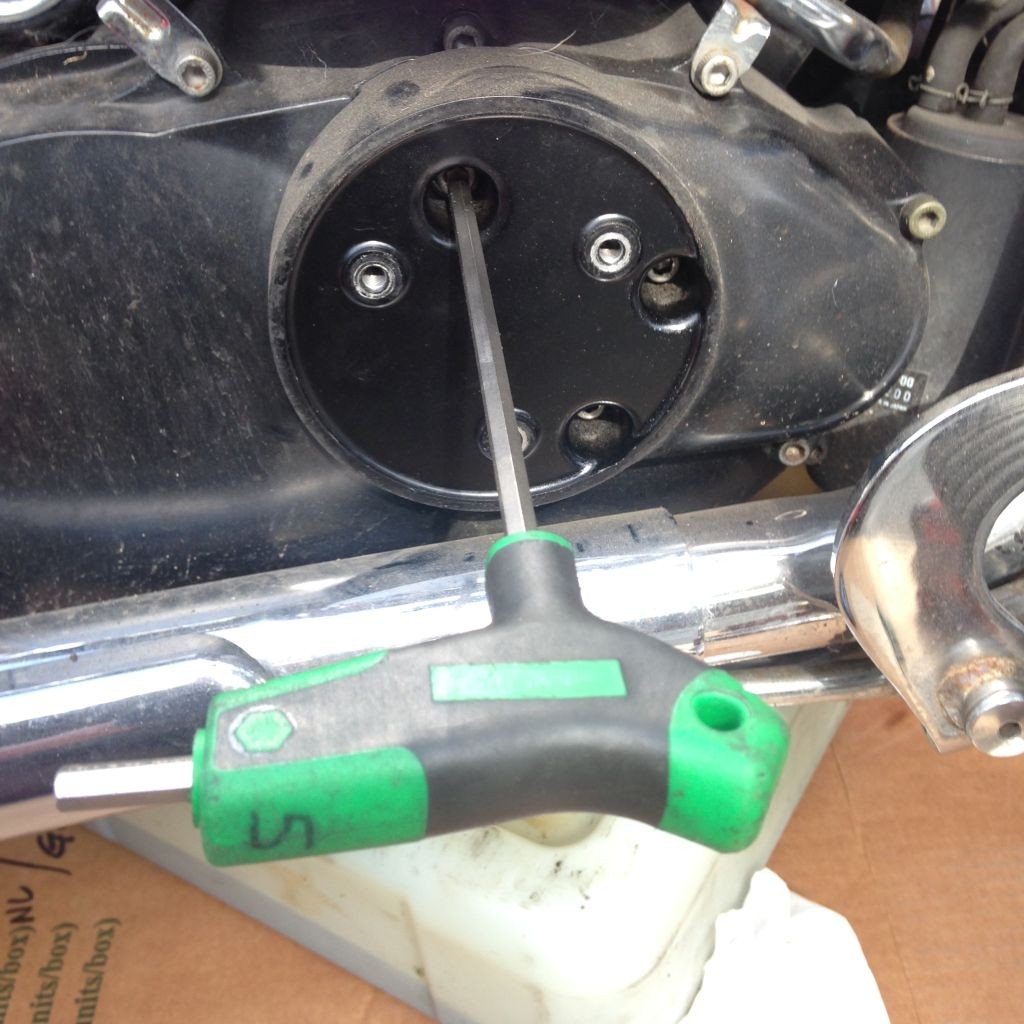
Removing allen bolts from the inner oil filter cover
The bolts holding the inner oil filter cover are different lengths, and each must return to its proper place. Laying them out in a place they won't exist disturbed, in order, is a good idea; poking them through holes in cardboard in a fashion that matches the orientation of the inner embrace is a good way to practise it likewise.
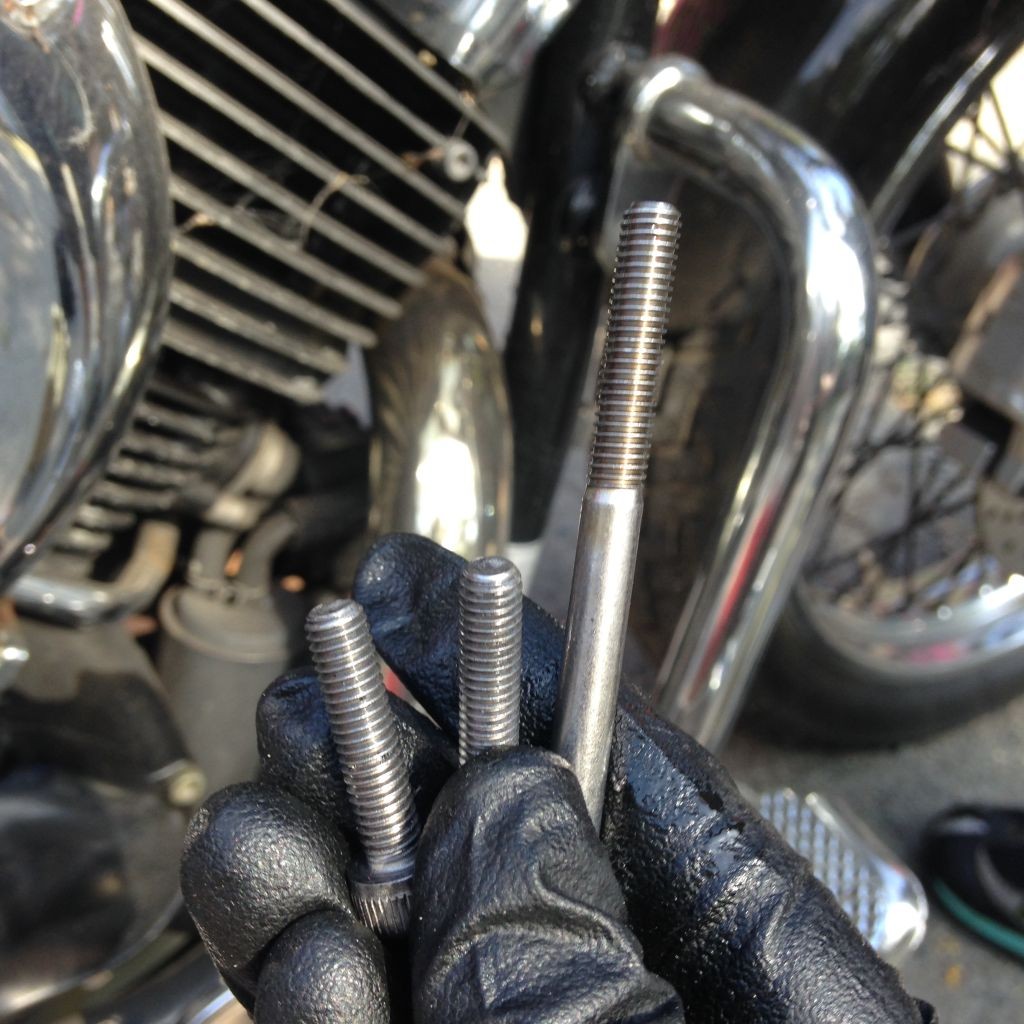
Inner oil filter bolts, different lengths
Removing the inner filter cover
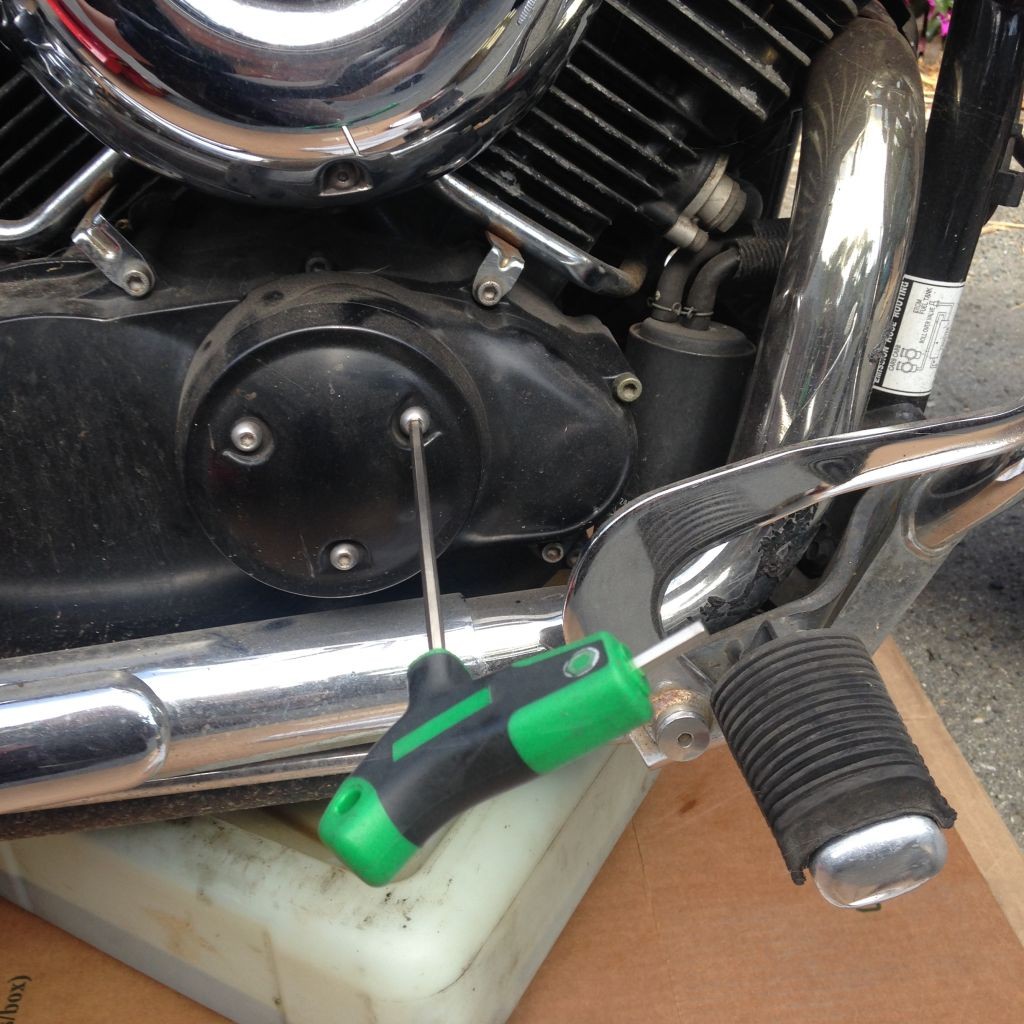
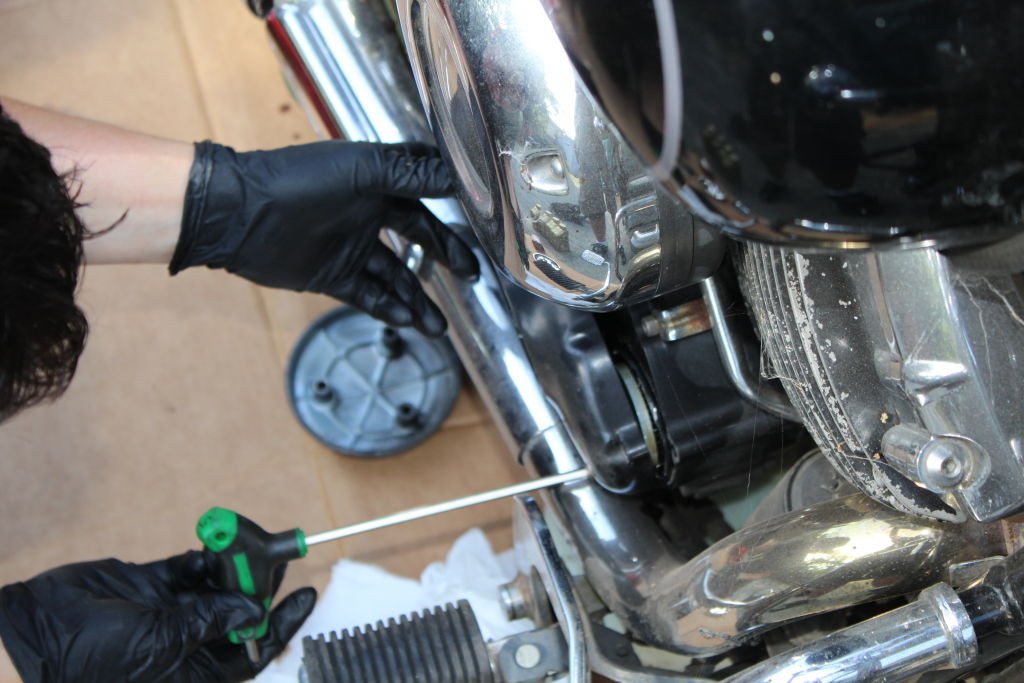
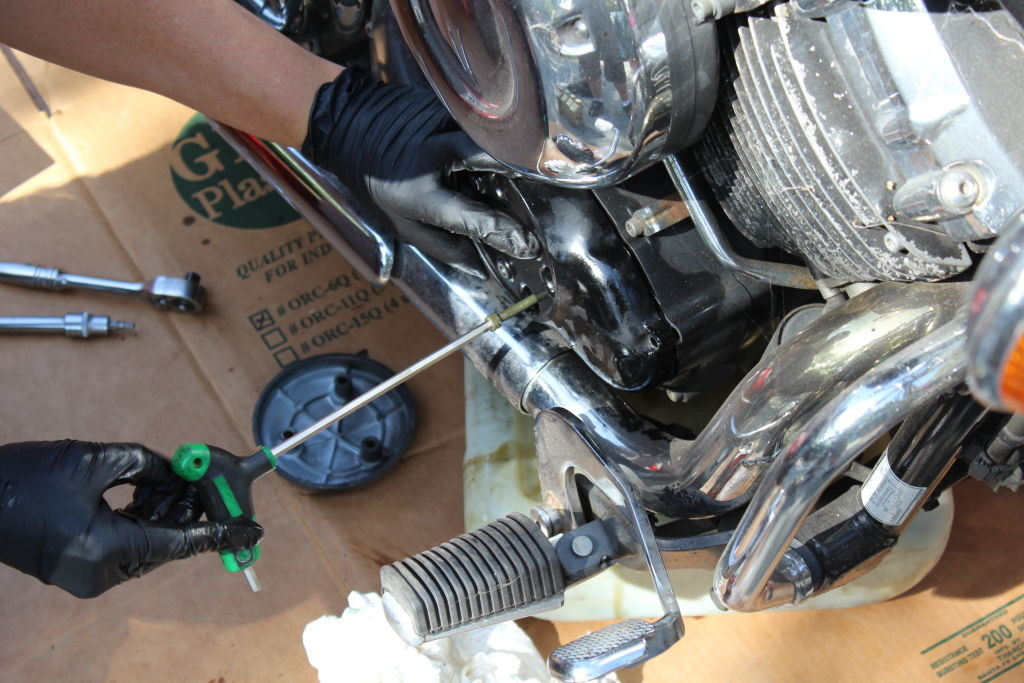
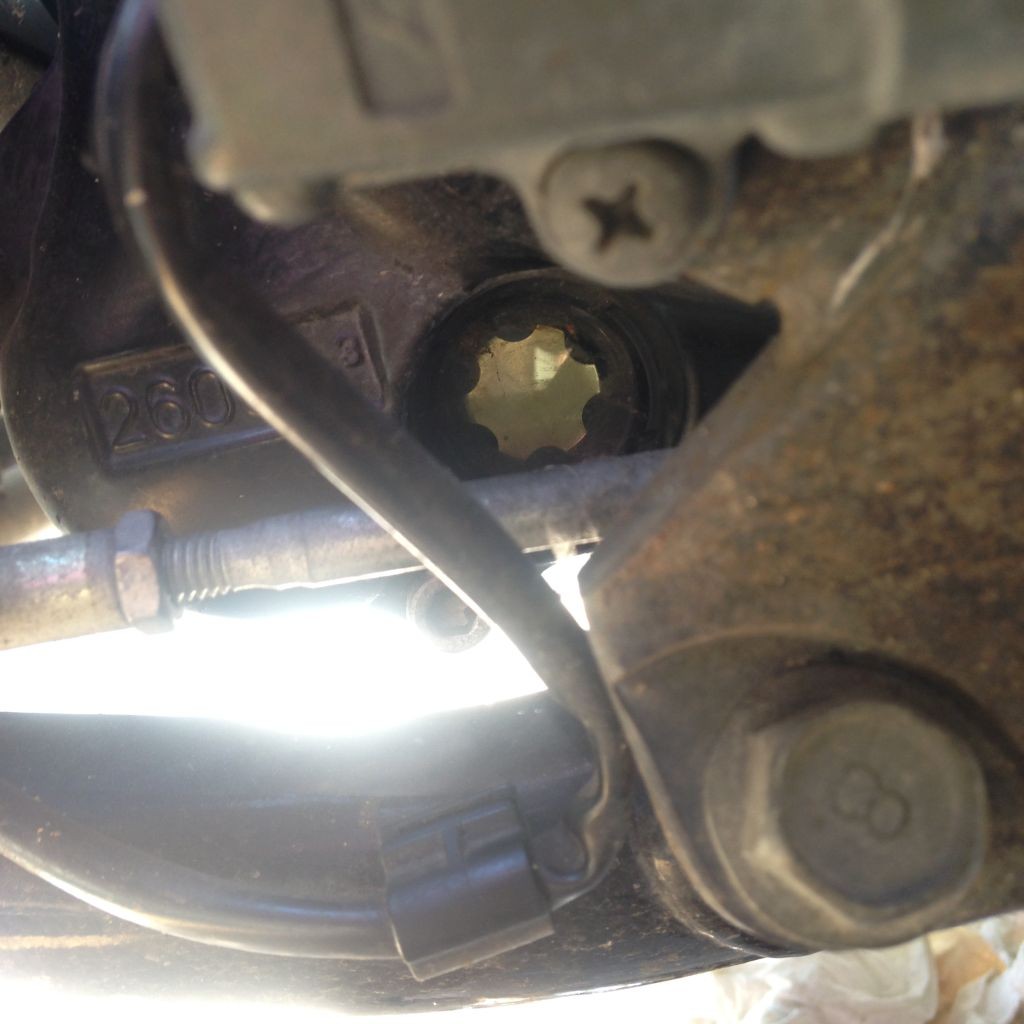
One of the allen bolts holding the inner oil filter cover is tough to get to–the rear brake pedal prevents admission to its head. Effort different types of allen wrenches and sockets, and nigh importantly, press the rear restriction downward with ane hand while putting the tool on the commodities with the other. Once more, be careful non to strip out the allen bolt–it's easy because of the awkward access. The inner embrace should exist carefully handled when you remove it, too, then you don't harm its gasket. If it does go damaged, it must be replaced or it will leak.

Pressing downwardly rear brake pedal to access that final pesky bolt
At last, I arranged all the different-length bolts in social club, removed the oil filter embrace, and pulled out the oil, used oil filter.
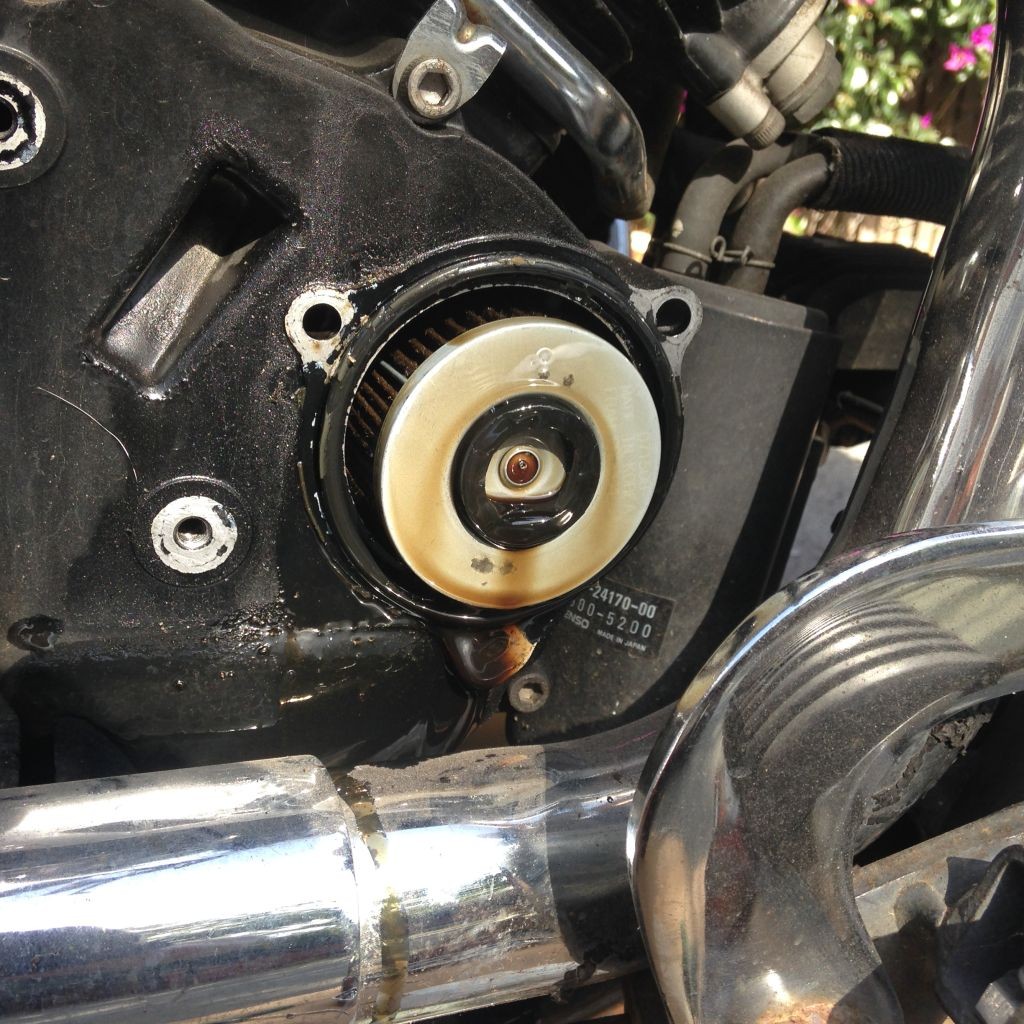
Success! The old oil filter, accessible afterward removing the filter encompass.
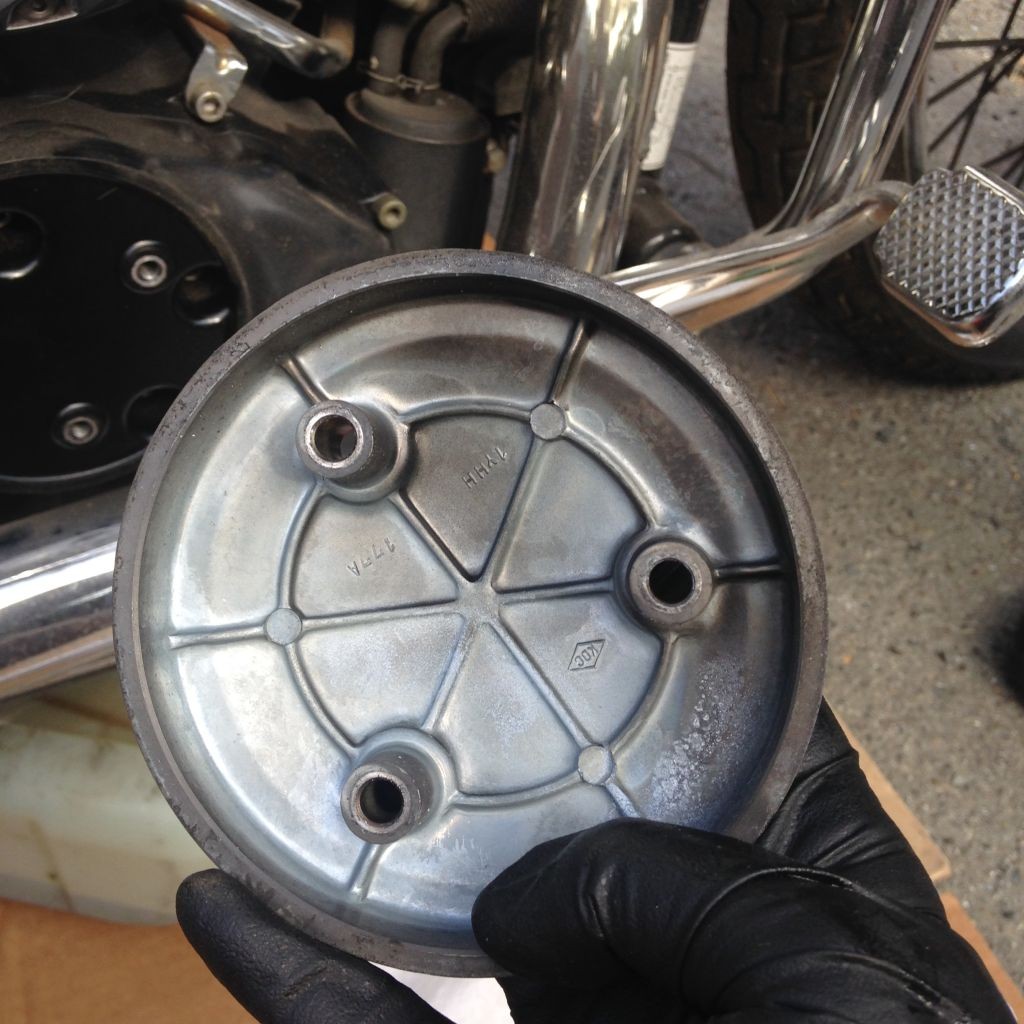
With the filter removed, I checked the empty oil filter housing for droppings, sludge, or other issues, wiping it out with a rag.
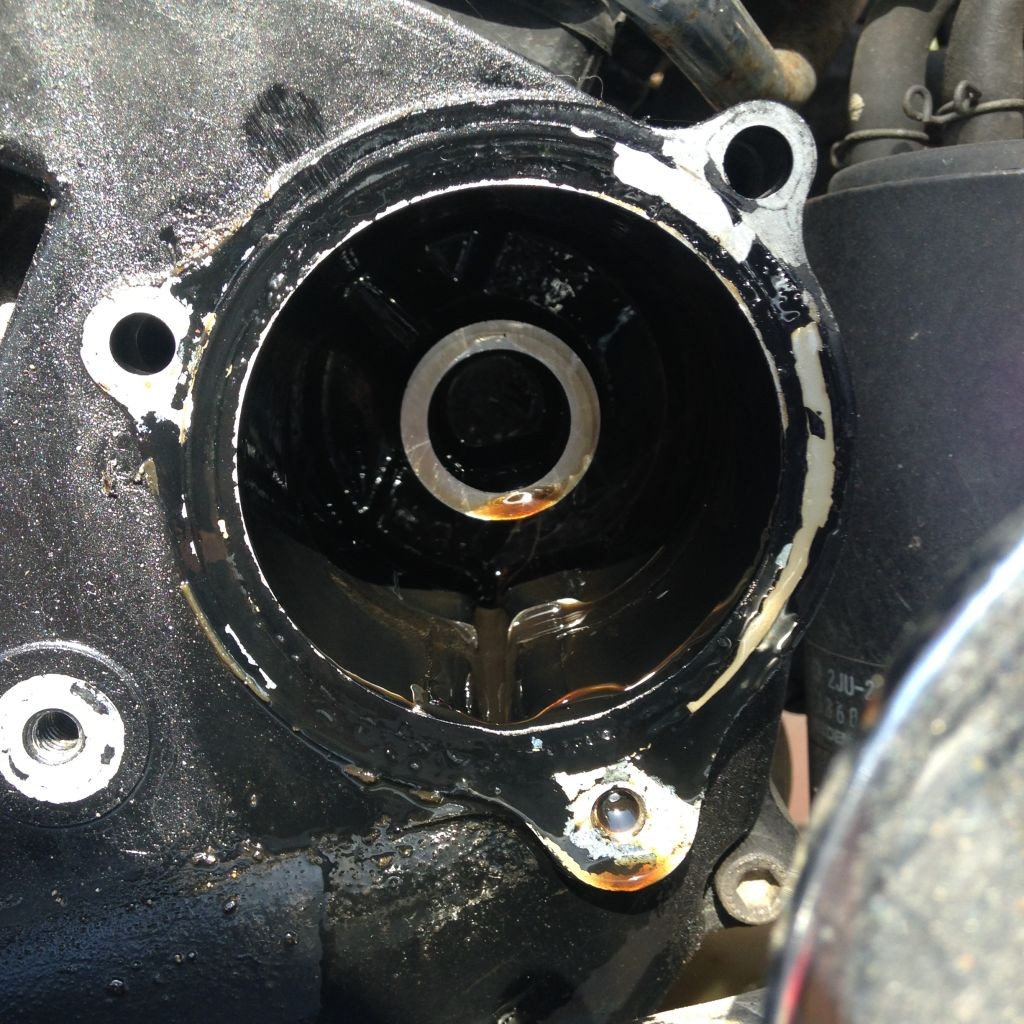
The oil filter housing, empty
I placed the oil filter on its spike in my oil filter drainer. They can also be only drained out over your oil pan, or on a fasten or rack in the pan. Any method you employ, the filter should drain at to the lowest degree overnight before yous bag information technology in a ziploc bag and recycle it aslope your oil.
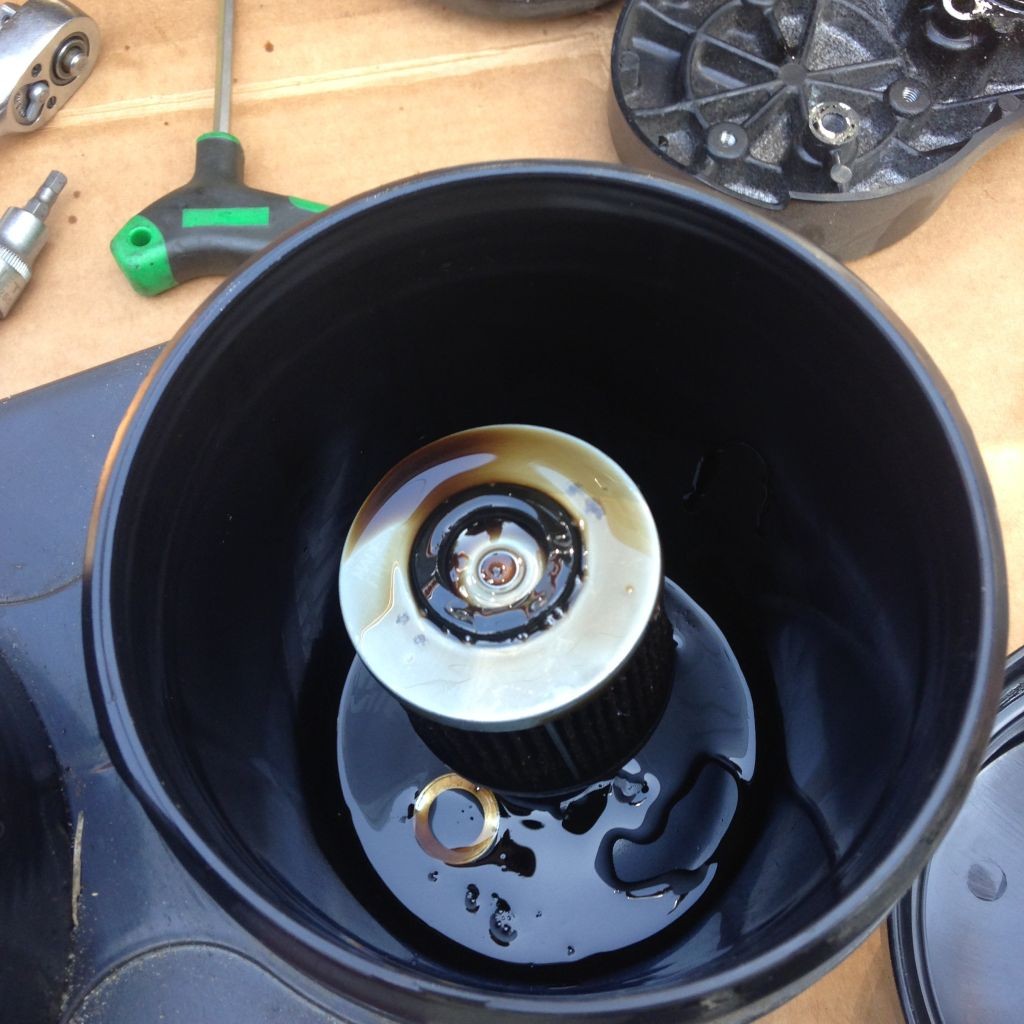
Quondam filter, in its filter drainer
At present, it was time to install the new oil filter.

New filter prepare to go
I checked all the o-rings and fabricated sure I was inserting the new filter in the correct management.
Inserting the new filter
Carefully, I held the inner oil filter cover in identify, and installed the varying-length bolts around its perimeter in the proper society. I torqued each bolt downwards gently but securely (the spec in the manual is 10Nm, or 7 ft-lb., and then not much), non wanting any to strip or snap, and accessed the head of the last bolt past pressing downward the rear brake pedal, as before. I also tightened the bolts in a diagonal or star pattern, so that the aluminum cover would not warp from uneven pressure.
Replacing the inner filter cover
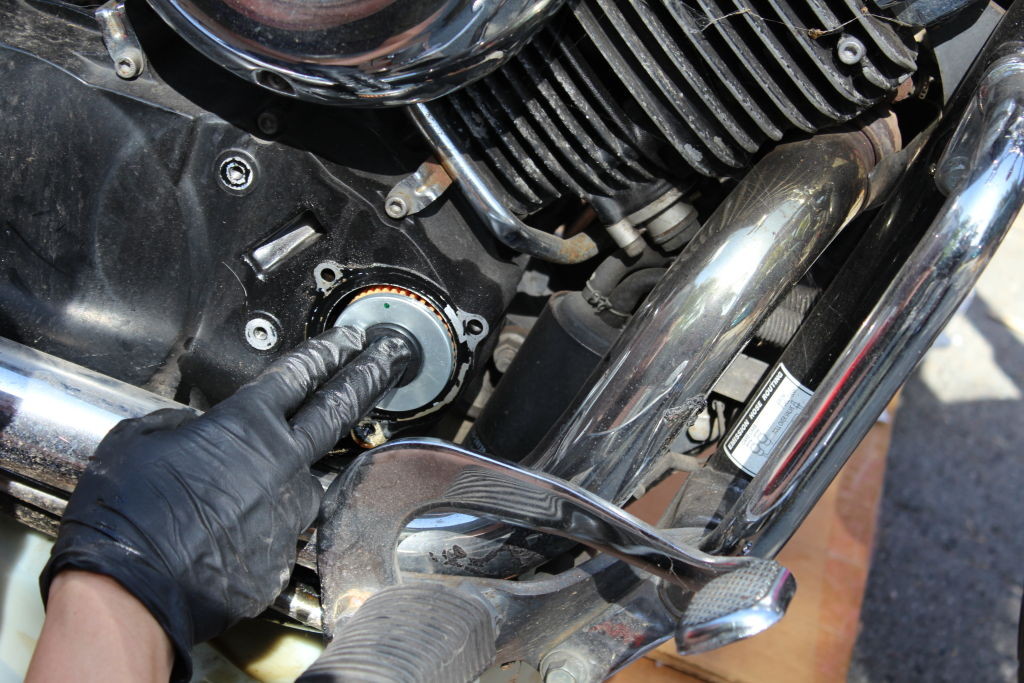
Once the inner filter cover was secure, I replaced the outer filter cover.
Replacing the outer filter cover
With the new filter in place, I slid out the used oil pan and replaced the cap, setting it aside to recycle.
Pulling out the now-full oil pan
Making sure that the new crush washer was on the oil drain bolt, I re-inserted it and torqued it down firmly–but not harshly. You desire to gently smush the crush washer without damaging the aluminum threads or case. If you use a torque wrench, the manual calls for 43 Nm (31 ft-lb) of torque on the drain bolt.
I opened the oil-filler cap and placed a long-necked funnel in the opening.
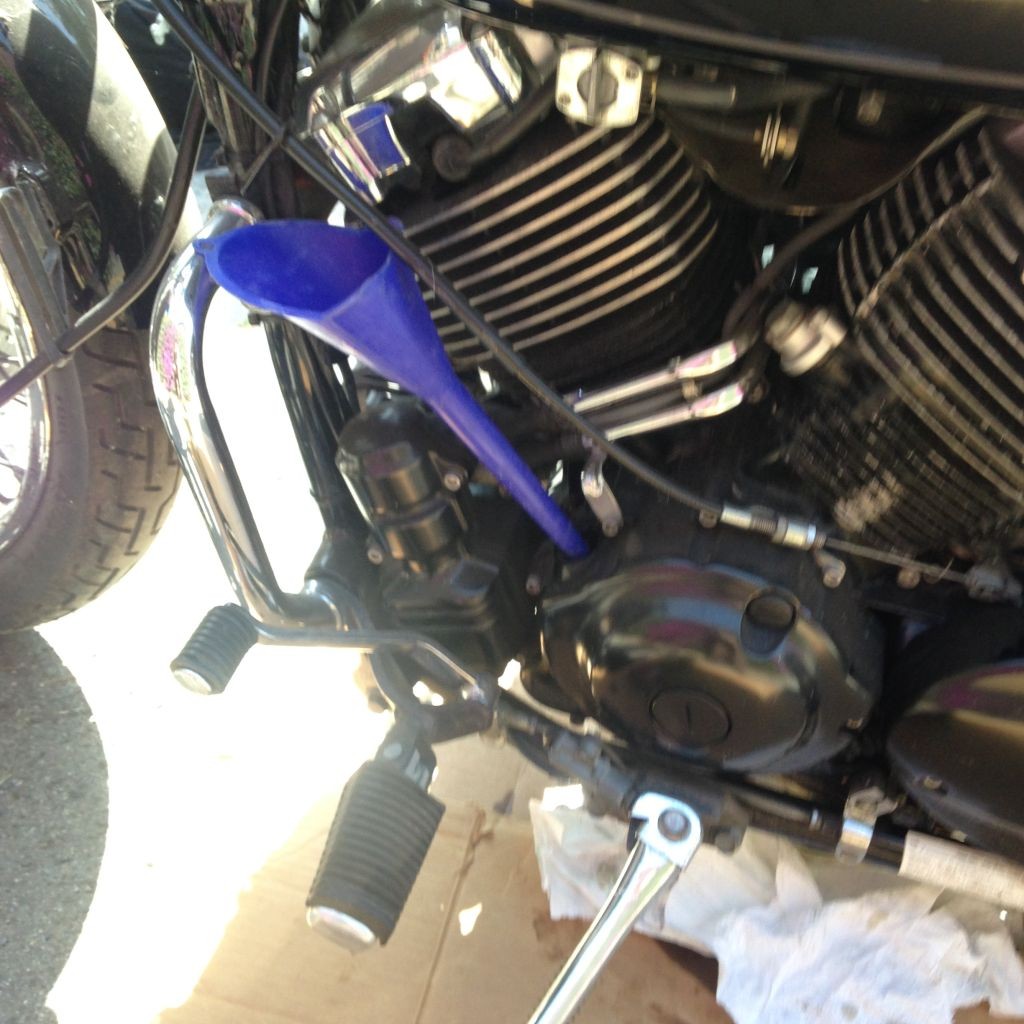
Funnel in place to re-make full the engine
The oil capacity of the V-Star 650 is 2.97 quarts; the bike owner had 4 quarts on manus just in instance–a wise movement.

Fresh new oil
I poured in 2 quarts of oil, and so figured I should check the oil sight glass to monitor the ascent oil level. The sight drinking glass is low on the left side of the wheel; it's easier to have an banana concur the bike upright while you sit or crouch and look at the sight drinking glass. It's in the heart of the photo below.
The oil sight drinking glass, just visible on the side of the engine
I poured oil and checked the sight drinking glass repeatedly, with my helper belongings the bike upright, until the sight drinking glass was completely full. I permit the oil settle for a couple of minutes, then started up the bike and let it run for 3 minutes to circulate the new oil through the engine and filter. The level dropped somewhat, one time I'd allowed the bike to cool for another iii-5 minutes, and then I topped off the level and started the bike for another three minutes, and then waited for another 3-minute cooldown.
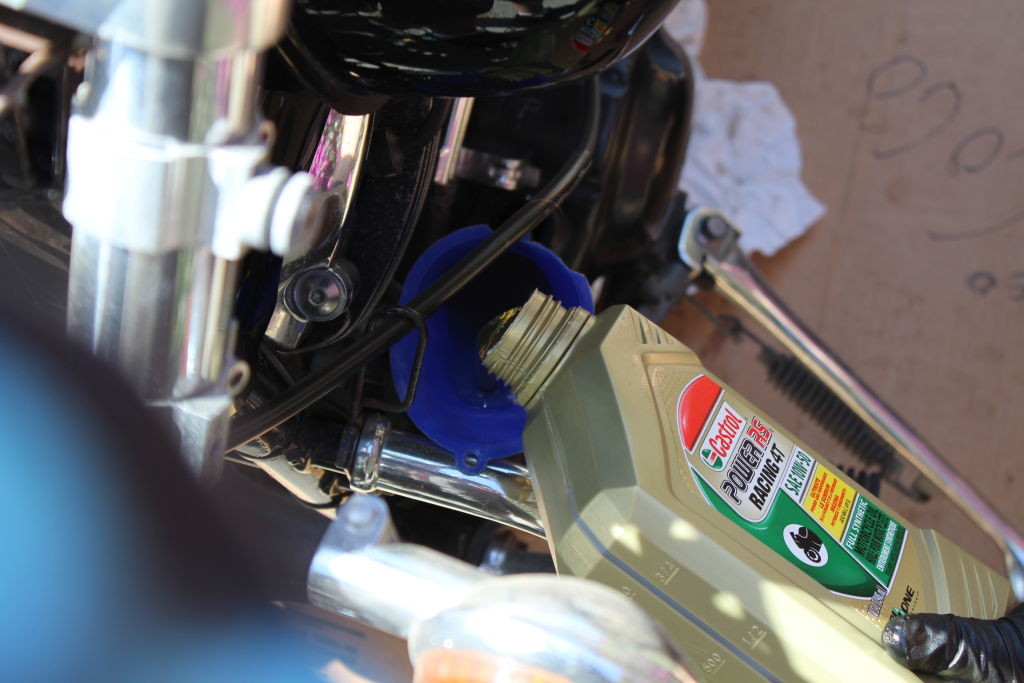
Pouring in fresh oil
After a couple of running and cooling downward cycles, the oil level was perfect–almost to the top of the sight glass.
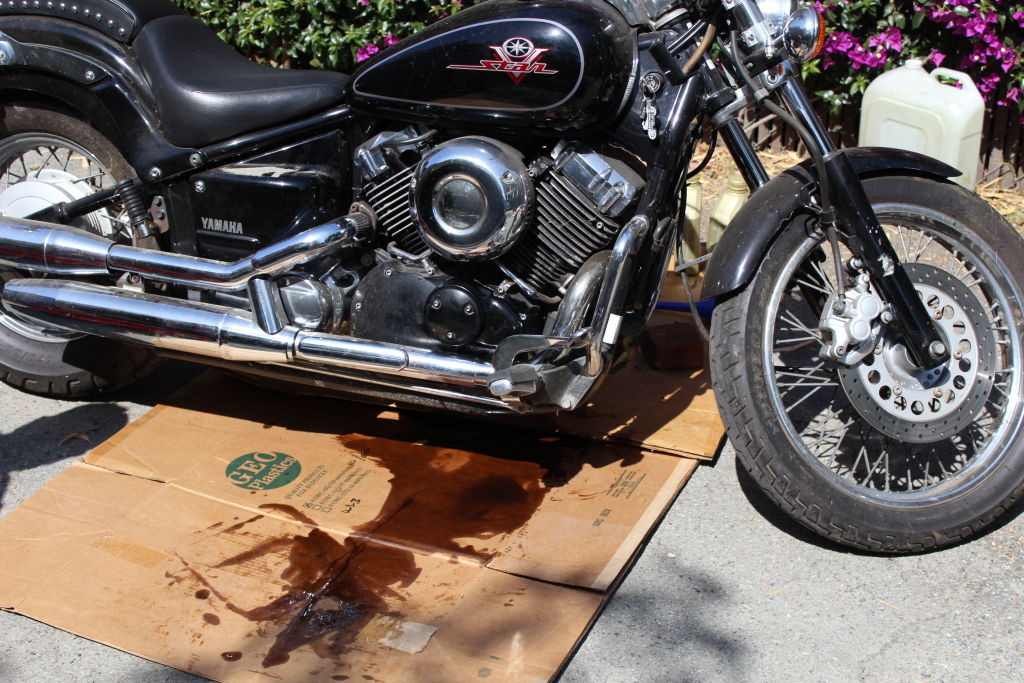
The V-Star 650, ready to ride. Glad that cardboard was in that location!
Glad that cardboard was there to prevent an oily mess in my driveway! The bike had a fresh oil and filter, and I put my tools away, cleaned up, and sealed the used oil in jugs and the used filter in my drainer for later recycling. I'thousand lucky enough to accept an auto parts store that recycles oil a mile from my dwelling, and that'due south where I took the oil and filter for recycling.
Observe out how to easily recycle your used oil and filters in San Mateo County, San Francisco, Alameda County, Sonoma County, Napa Canton, Marin County and Sacramento. If you're not in those counties, find your own convenient oil and filter recycling location Hither.
Note: Several of these photos were taken by the wheel owner, Sue Bennett. Cheers Sue, 2 easily are better than ane!
Source: https://ridersrecycle.com/blog/oil-and-filter-change-yamaha-v-star-650-part-i/
Posted by: friendhintailging.blogspot.com
0 Response to "How To Change Gasket On The Left Side Of The Crankcase On A 650 V Star 2009 Model"
Post a Comment